Last updated November 20, 2026
 Raised-panel steel
 Carriage house
 Modern flush
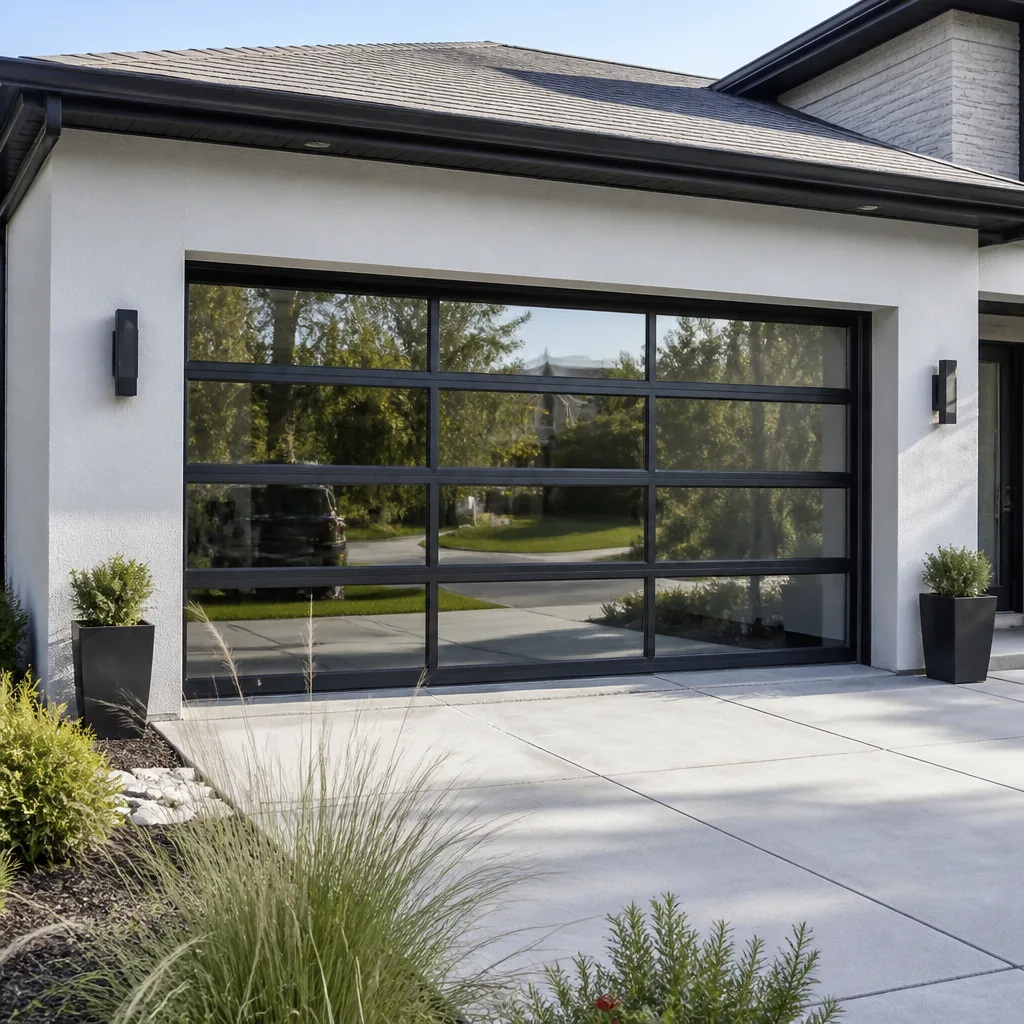 Full-view glass
 LiftMaster openers
 Chamberlain openers
Full 25-point door and opener safety check with every visit - springs, cables, rollers, tracks, and your LiftMaster or Chamberlain opener included
You get a price before we start. It does not change when the pro arrives.
Get your free estimateGarage Door Repair Maintenance Checklist for Nora Homeowners
Most garage door guides tell you to “lubricate moving parts” and call it a day. That advice misses the point. In Nora, the doors that fail are rarely the ones nobody ever touched; they’re the ones maintained on a template written for a mild climate that never sees a hard freeze or a driveway full of road brine. What actually breaks a door here follows a pattern, and it follows a season. Cold snaps stiffen grease that was never the right weight, weatherstripping cracks, and hardware that ran quiet all summer starts to rattle. This checklist is built around what we actually see in Nora garages, organized by how often you should do it and what “passing” looks like. You’ll learn which parts you can safely handle and which ones to leave alone.
Quick Answer
A garage door maintenance checklist for Nora homeowners should cover three tiers: a monthly visual inspection of springs, cables, rollers, and weatherstripping; a twice-yearly lubrication and hardware-tightening pass before the first freeze and again in spring; and an annual professional tune-up. The single highest-value task is lubricating rollers and hinges with a silicone-based spray twice a year, which prevents the grinding and cable failures that spike every January.
Styles & brands we work with
- Raised-panel steel
- Carriage house
- Modern flush
- Full-view glass
- LiftMaster openers
- Chamberlain openers
Table of Contents
- Monthly Visual Inspection: The Ten-Minute Pass
- Biannual Mechanical Checklist: Pre-Winter and Spring
- The Annual Professional Service Call
- What You Can Safely Check vs. What Requires a Technician
- Indiana Triggers: Brine, Freeze-Thaw, and Thermal Rattle
- How to Document Your Door’s Condition Over Time
- Red-Line Indicators: Stop Using the Door and Call
- Common Mistakes to Avoid
Monthly Visual Inspection: The Ten-Minute Pass
Once a month, with the door closed and the opener disconnected, walk the perimeter of your door and run through a fixed list. The goal isn’t to fix anything. It’s to spot a change early enough that it stays a cheap repair instead of a snapped cable on a Sunday morning. Ten minutes is enough if you know what you’re looking at.
Work top to bottom and use the same order every time. Consistency is what turns this into something you’ll actually notice when a part looks different from last month.
- Torsion springs (above the door, on the shaft). Look for a visible gap in the coil. A clean break shows as a two-inch space where the wire used to be continuous. Pass: an unbroken coil with no rust-colored dust beneath it. Fail: any gap, or a pile of fine rust powder on the door below the spring.
- Cables (the steel lines running down each side). Look for fraying, kinks, or slack where the cable should be taut. Pass: even tension on both sides, no frayed strands. Fail: any fray, or a cable that looks loose.
- Rollers (inside the track). Open the door a few feet and look at the wheels. Pass: rollers spin freely and the nylon or steel face is smooth. Fail: flat spots, cracks, or rollers that don’t turn.
- Hinges and brackets. Look for loose screws, rust, or metal worn thin at the pivot. Pass: snug fasteners, no visible rust bloom. Fail: a hinge that wiggles when you press on it.
- Weatherstripping (bottom seal and side jambs). Pass: seal sits flush against the floor, no daylight visible underneath, no cracks. Fail: gaps, tears, or a seal that’s gone stiff and brittle.
- Tracks. Look for dents, bends, or debris. Pass: straight vertical and horizontal runs. Fail: any visible kink, or track that’s pulled away from the jamb.
- Balance test. With the door at waist height and the opener disconnected, let go. Pass: the door holds position or drifts slightly. Fail: it drops fast or rises on its own, which means the springs are out of balance.
All seven are visual or by-hand checks. None of them require tools beyond your own eyes and a gentle push. That’s by design: the monthly pass is about catching a change, not adjusting anything. Torsion springs are under extreme tension at all times, and a single wrong move near one can cause serious injury. That’s a job for a trained technician, not a homeowner.
If any of the seven fails, don’t wait for the next month. Note what failed, and see the red-line section below for which failures mean stop using the door entirely.
Biannual Mechanical Checklist: Pre-Winter and Spring
Twice a year, in late fall before the first hard freeze and again in early spring, do a mechanical pass that goes beyond looking. This is where the silicone spray comes in, and it’s the single most important thing a Nora homeowner can do to avoid the January grinding and stalled doors we get called out for every winter. Cold makes under-lubricated metal bind, and a door that ran fine in October can grind to a halt by the first week of January.
Do this pass on a dry, mild day. Cold hands and stiff lubricant work against you.
- Lubricate rollers, hinges, and the spring coil with a silicone-based spray, not WD-40 or motor oil. WD-40 is a solvent, not a lubricant, and it’ll attract grit that wears the rollers faster. Silicone spray goes on clean and stays slick without collecting dust.
- Wipe the tracks with a damp cloth. Don’t grease the tracks. Grease traps dirt and makes the rollers drag. Clean tracks with dry rollers is the goal.
- Check and tighten hinge and bracket screws. Hand-tighten with a screwdriver. If a screw won’t hold torque, the wood behind it may be stripped, and that’s a technician’s problem.
- Test the safety reverse. Place a two-by-four flat under the door and close it. The door should reverse on contact without crushing the board. If it doesn’t, the opener needs adjustment before the door is safe to use.
- Test the photo-eye sensors. Wave your hand through the beam at the base of the door while it’s closing. It should reverse immediately. If nothing happens, the opener’s safety system is failing.
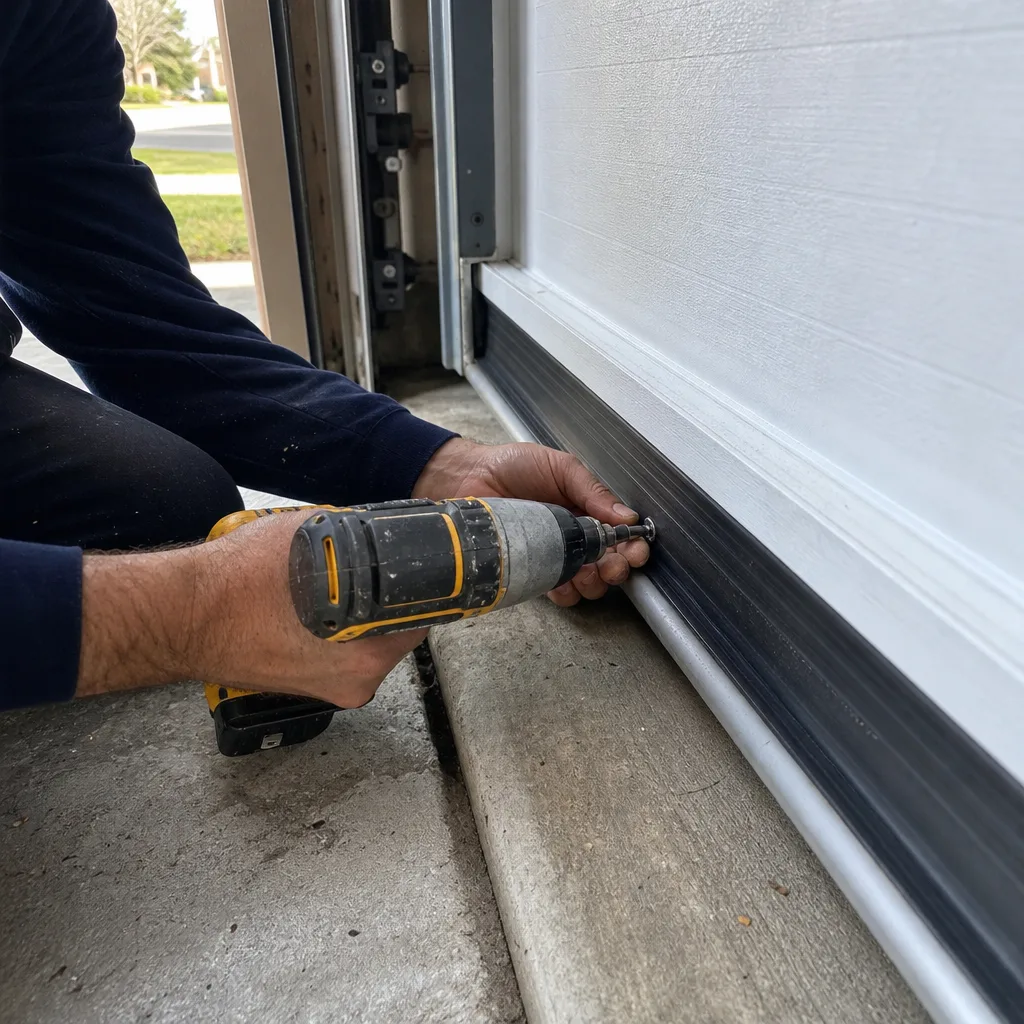
- Inspect the bottom seal and side jambs for cracks, stiffness, or separation. Freeze-thaw cycles are hard on rubber, and a stiff seal lets cold air and moisture in.
That’s six tasks, and together they’ll take about twenty minutes. The photos and settings on modern openers from LiftMaster, Chamberlain, and Genie all respond to the same reverse test, though some have a learn-button sequence that makes the adjustment easier than others. Craftsman units from the last decade are similar. If you’re not sure how to run the reverse test on your model, that’s a fair question to ask during a service call.
Our technicians have up to 12 years of experience, and the pattern is consistent: doors that got sprayed in November sail through the winter. Doors that didn’t get sprayed are the ones that snap a cable in a cold snap.
The Annual Professional Service Call
Once a year, schedule a proper tune-up with a garage door specialist. A monthly visual and a biannual spray will carry a door a long way, but some parts wear in ways you can’t see from the outside, and some adjustments require tools and knowledge that aren’t safe for a homeowner to attempt. The annual call catches those before they become an emergency.
A proper annual service covers more than a quick look. It should include:
- Spring tension check. Your technician measures the actual tension on the torsion springs and adjusts the balance. Springs don’t fail on a schedule, but they do telegraph their wear through tension drift that’s invisible to the eye.
- Cable inspection and adjustment. The technician checks the cable spools, drums, and the point where the cable attaches to the bottom bracket. That attachment point is where driveway brine does its damage, and it’s not something a homeowner can safely inspect up close.
- Roller replacement where needed. Worn rollers that have flat spots get swapped. With common roller sizes on hand, this is usually handled in the same visit rather than turned into a special order.
- Track alignment. Minor bends that don’t look like anything to a homeowner can put uneven stress on rollers and hinges and shorten their life. A technician aligns the track and rolls out the kinks.
- Opener inspection. This is the point where the door and the opener get looked at together. If your opener is on its last legs, you may want to plan for a garage door opener repair before the motor fails outright, rather than mid-winter.
- Balance and safety test. The door gets rechecked for balance and the opener for proper reverse and sensor function.
Do it in the fall if you can. A door tuned up in October is ready for the freeze. A door tuned up in March has already survived the freeze, and if it didn’t survive well, you’ll have felt it in the interim. There’s no reason to push the timing into a busy season. Book it when you’re thinking about it.
What You Can Safely Check vs. What Requires a Technician
The single most important line in this checklist is the one between “inspect” and “adjust.” Some parts of a garage door system are safe for a homeowner to look at and gently touch. Others are under extreme tension and can cause serious injury to an untrained hand. Knowing which is which matters more than knowing how to do any of the checks.
Safe for a homeowner to inspect and lightly maintain:
- Rollers, by sight and with a gentle spin when the door is open a few feet.
- Hinges, for rust and by hand-tightening the screws.
- Tracks, for visible bends and debris, wiped with a damp cloth.
- Weatherstripping, by pressing on it to check for stiffness and running your hand along the bottom seal.
- Opener safety reverse and photo-eye sensors, using the standard tests above.
- Lubricating rollers and hinges with silicone spray.
Requires a trained technician:
- Torsion springs and extension springs. These store enormous energy, and a spring adjusted the wrong way can release suddenly. A serious injury from a garage door spring is a known risk in this trade, and it’s why garage door repair on springs is treated as its own specialty rather than a general repair.
- Cables under tension, or any adjustment to the drums and spools.
- Bottom brackets, where the cable anchors to the door. These are under constant tension and can cause injury if released.
- Track alignment beyond wiping down, because a track out of true can send the door off its rollers.
- Opener force limits beyond the standard tests. Adjusting the force is a precision setting, not a “tighten until it feels right” adjustment.
It comes down to this: if the part is under spring or cable tension, don’t touch it beyond looking. That’s true whether you have a Clopay, an Amarr, or a Wayne Dalton door, and it’s true whether the door is a few years old or much older. The tension doesn’t care about the brand.
Indiana Triggers: Brine, Freeze-Thaw, and Thermal Rattle
A maintenance checklist written for a mild climate misses the biggest failure drivers in Nora. The indoor-outdoor temperature swing here is significant, the freeze-thaw cycle is aggressive, and road brine tracked onto the driveway reaches the door’s delicate parts more often than most homeowners realize. These three local patterns deserve their own lines on your checklist.
Salt and road brine on the bottom brackets
Every winter, splash and spray from a treated driveway reaches the bottom corners of the door, and the bottom brackets are the most exposed steel on the whole assembly. Brine attacks those brackets and the cable anchors they hold. Over a few seasons, corrosion at the bottom bracket is one of the most common reasons a cable fails. When you do your monthly pass, look specifically at the bottom corners of the door for rust bloom or flaking paint. If you see it, note it and mention it on your annual service call. Don’t try to scrub the bracket or apply treatment yourself. It’s under tension and should be handled by a technician.
Freeze-warped weatherstripping
The bottom seal is rubber or vinyl, and repeated freeze-thaw cycles make it brittle. By the third or fourth winter, a seal that used to sit flush against the floor will have warped, cracked, or separated at the edges. You’ll notice it first as daylight under the door when viewed from inside with the door closed, and later as a draft. Check it twice a year: once before the freeze and once after. Stiff or cracked seals should be replaced, and this is a reasonable job to hire out; getting the seal seated evenly around a wide door takes patience and a second set of hands.
Thermal expansion and rattling hardware
When the metal of the door, tracks, and hinges expands and contracts with big temperature swings, bolts that were snug in September can loosen by December. That’s why hardware rattle in a Nora garage is more than a nuisance. A loose hinge becomes a worn roller becomes a strained cable. The fix is simple: a screwdriver pass twice a year, before the first freeze and again in spring. Don’t overtighten. If a screw won’t hold, leave it and flag it for the technician, because a stripped hole means the hinge needs to be re-anchored to solid material.
All three triggers point to the same conclusion: the fall pass is the most important one on the calendar. Get the lubrication and the hardware tightening done before the freeze, and the freeze becomes a lot less eventful.
How to Document Your Door’s Condition Over Time
A technician can diagnose a sound much faster if they know when it started. Keeping a simple door log turns a vague complaint (“it’s been making noise”) into a concrete history (“the grinding started in mid-November after the first freeze”). It also helps you decide whether a noise is new or just something you’ve never noticed before.
You don’t need a spreadsheet. A note in your phone works fine.
- Log the date and a short description every time you do a monthly visual or a biannual pass. “Nov 12 – silicone spray applied, hinges tightened, one roller on the left side spins rough.”
- Photograph anything that changes. A bottom bracket with fresh rust, a cable that looks frayed, a seal that’s started to tear. Date-stamped photos make a trend visible.
- Record the date of every professional service call and what was done. This matters if you ever sell the house, and it matters when a technician is deciding whether to repair a part or advise replacement.
- Note the seasonal changes. “Door started grinding the same week every winter” or “door is fine in summer, stiff in January.” A trained technician reads that pattern differently than they read a one-day complaint.
The point isn’t to become a mechanic. It’s to give whoever does work on your door enough context to see a trend instead of just today’s symptom. A door that grinds every winter for three years in a row is telling a different story than a door that just started grinding last week. The log is what separates the two, and it’s what lets a technician catch a failure while it’s still a cheap repair.
If you’re not sure where a symptom falls on that spectrum, call us and describe what you’re hearing. Quite often a quick conversation over the phone is enough to tell you whether it’s a monthly-pass item or something we should look at. Related parts like rollers and hinges are often on hand, so a small fix doesn’t have to become a special order and a wait. The parts supply piece of our service matters more than it sounds. It’s the difference between a fast fix and a week of waiting.
Red-Line Indicators: Stop Using the Door and Call
Some failures are an inconvenience. Others mean the door is one cycle away from a serious problem. These are the red-line indicators on your checklist, and the rule is simple: if you see one, stop using the door immediately and call for service. Don’t open and close it “one more time” to check. Don’t try to diagnose it yourself.
- A visible gap in a torsion spring above the door. That’s a broken spring, and the door is being carried by the cables and opener alone. Operating it can warp the door, damage the opener, and in the worst case bring the door down.
- A frayed or slack cable. A cable that’s visibly fraying at the bottom bracket or has gone slack is close to failing. Any movement stresses it further.
- The door falls fast when released from a half-open position. That’s a balance failure, and it usually means the springs have failed or are badly out of adjustment.
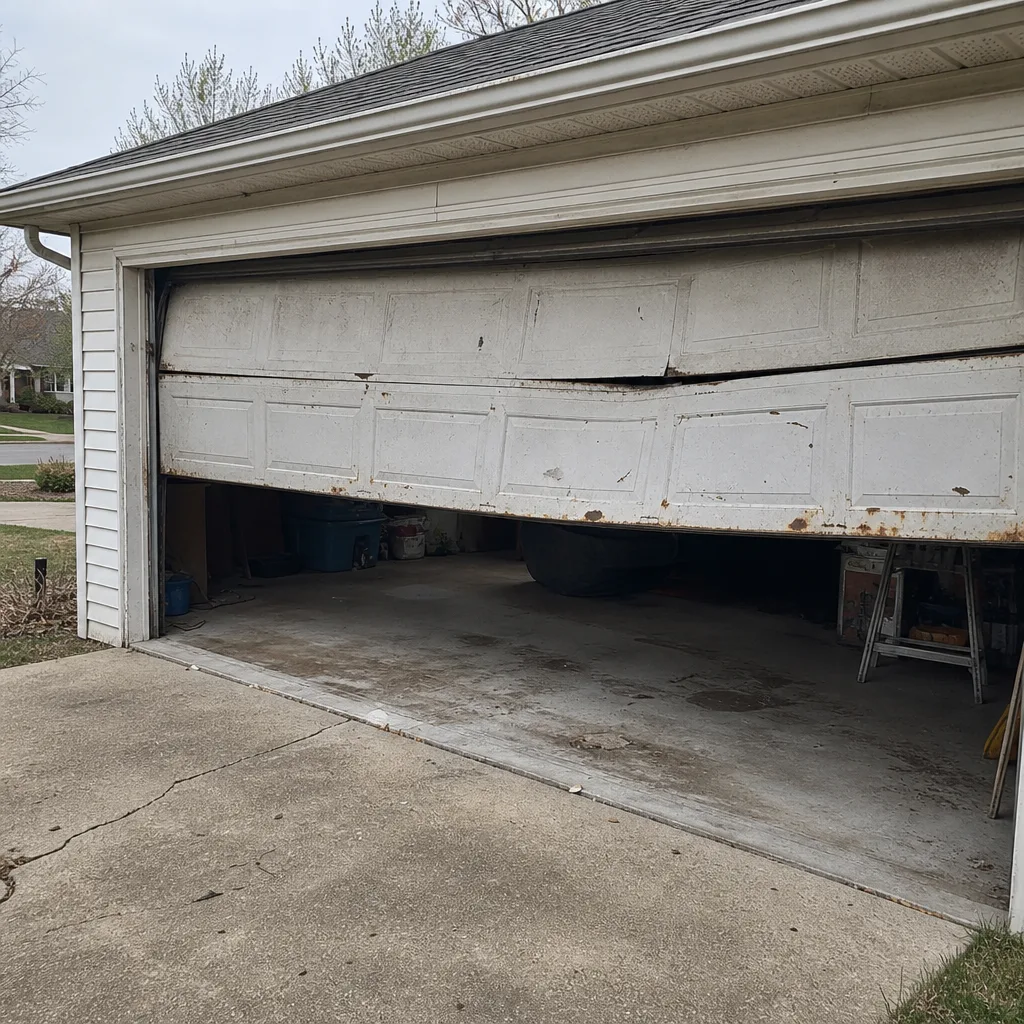
- A door hanging crooked, with one side higher than the other. This typically means a spring or cable has failed on one side. Operating the door puts uneven load on the tracks and rollers and can bend them.
- Grinding, popping, or a loud bang from the torsion bar. A bang is often the sound of a spring breaking, and it can happen while the door is closed. Any sudden loud noise should be treated as a red line.
- The opener safety reverse fails the two-by-four test. This one has no visible symptom, but a door that won’t reverse on contact is dangerous. Stop using the opener until it’s adjusted.
In our experience, most of the “the door came down” service calls we get could have been avoided if the door had been parked as soon as the spring broke. Treat the red lines as non-negotiable. The repair is the same on day one or day five, but the damage to cables, tracks, and the opener grows the whole time.
If any of these appear on a Saturday, you can call and we’ll book you for Sunday. If it’s early in the day during the week, call us as soon as you notice. Emergencies on springs and cables are exactly the situation where a trained technician doing the work right matters.
Common Mistakes to Avoid
- Greasing the tracks. This feels like maintenance but it usually makes things worse. Track grease picks up grit and dust, and the rollers slide on it instead of rolling. Clean tracks and lubricated rollers are the goal.
- Using WD-40 as a lubricant. It’s a solvent and a light penetrating oil, not a long-term lubricant. Silicone spray is the right product for garage door rollers and hinges, and it’s what we use on service calls.
- Trying to adjust a torsion spring yourself. Springs store an enormous amount of energy at all times, even when the door is closed. This is the most dangerous part of the whole door, and it’s why a trained technician handles it on every job.
- Skipping the fall pass. In Nora, the freeze is what turns a minor wear problem into a snapped cable. Fall lubrication and hardware tightening are the most important maintenance of the year.
- Ignoring a rattle after a cold snap. Thermal expansion loosens hardware every winter. Rattle means something has backed off. It’s a cheap fix now and an expensive repair if you wait for a roller to work itself loose.
- Replacing the whole door over a repairable problem. A door that’s noisy, stiff, or off-balance usually needs parts and adjustment, not a whole new door. Any technician who can’t explain a specific failure and a specific fix is guessing.
- Bringing in a general handyman. A garage door is a single-trade system. Springs, cables, openers, and tracks all interact, and a technician who works on them daily will spot a failing cable while they’re adjusting a hinge. A multi-trade handyman doesn’t have that pattern in his head.
See the difference
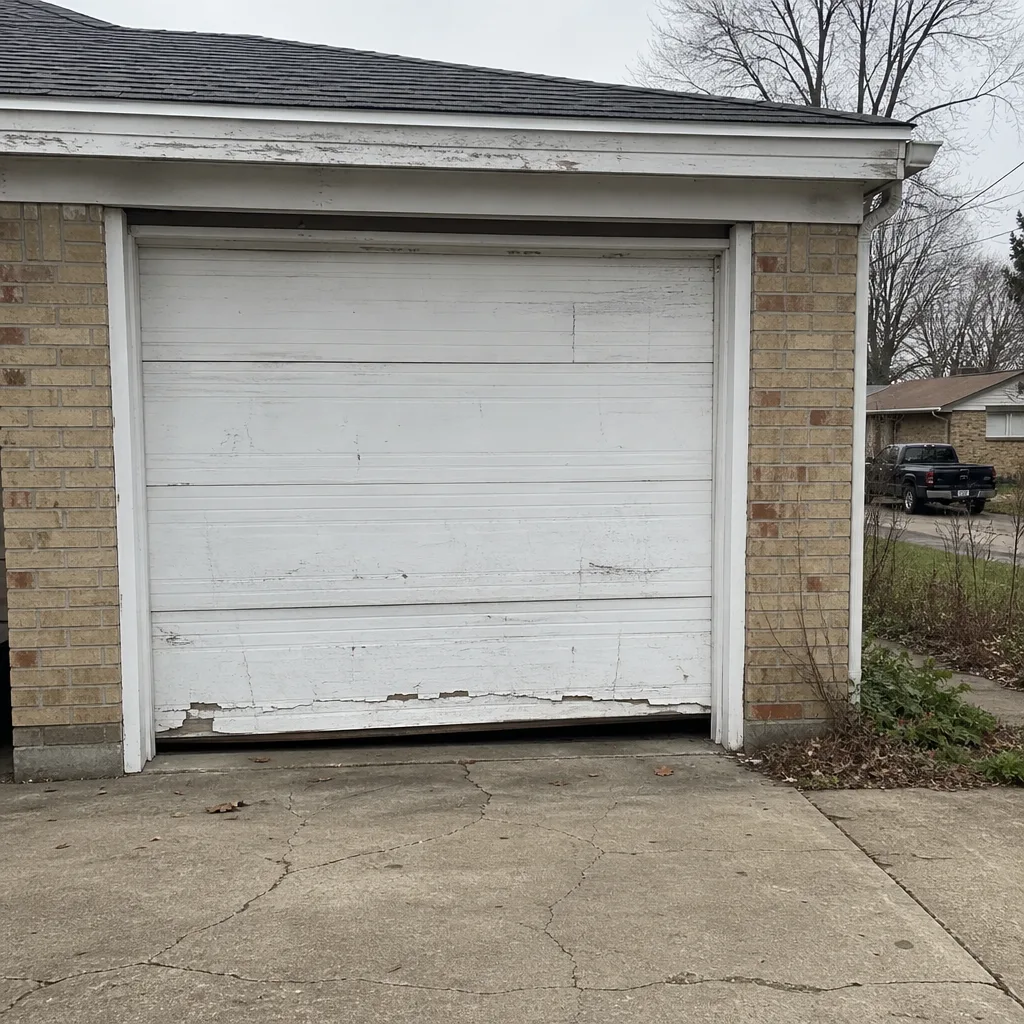 Before
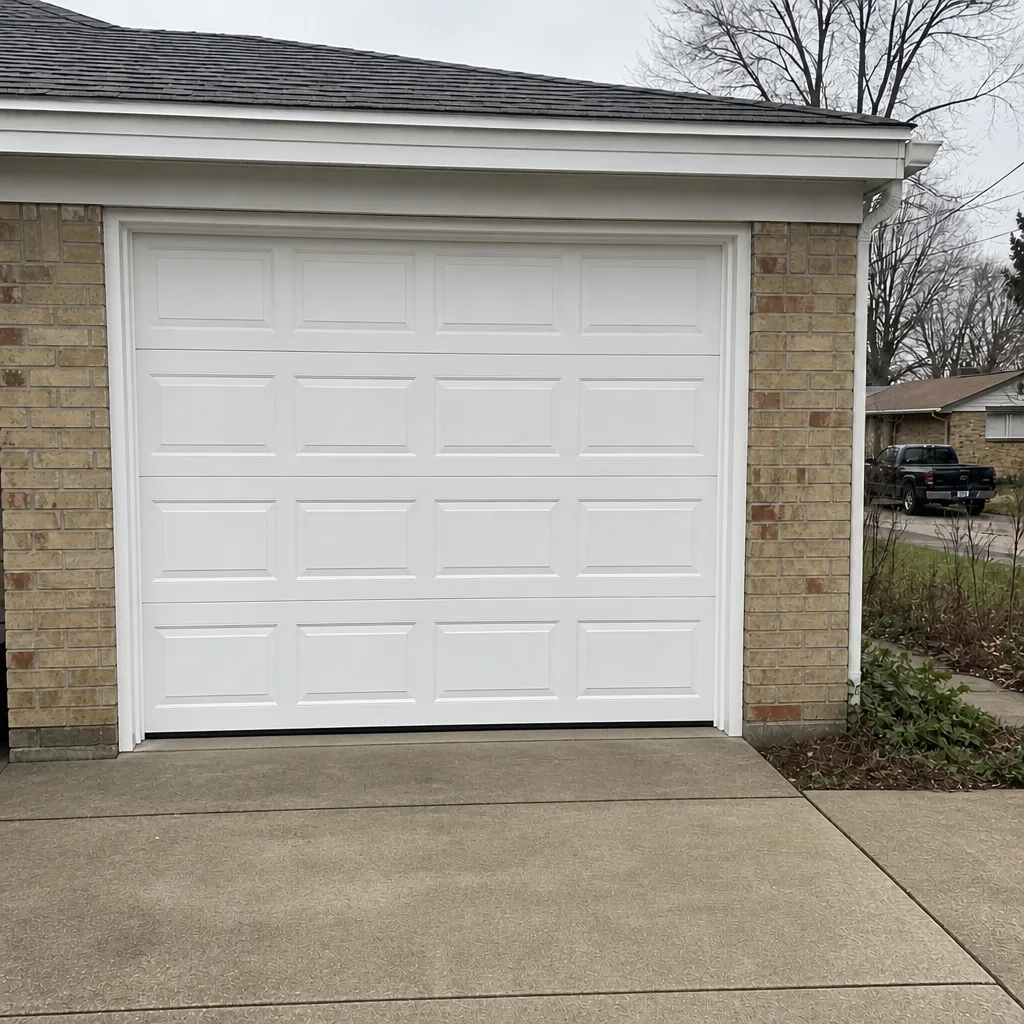 After
 Before
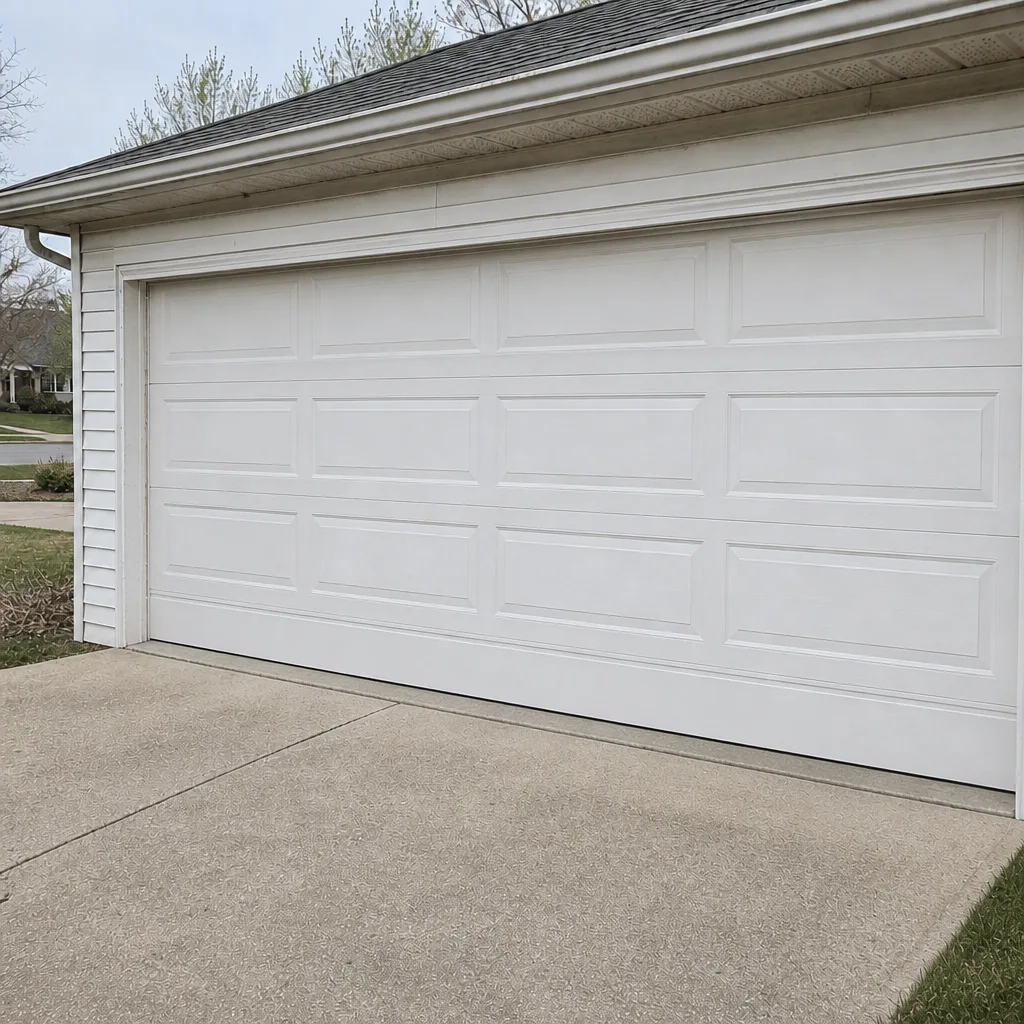 After
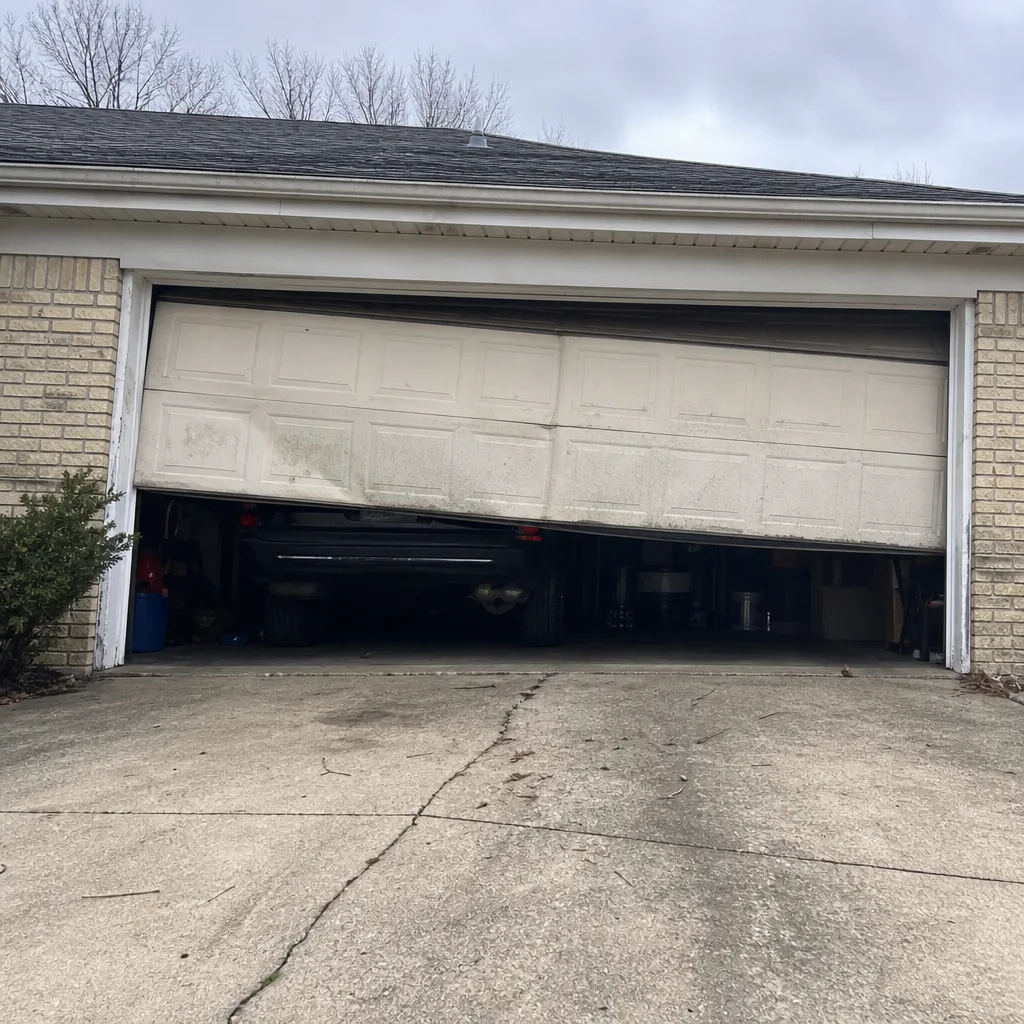 Before
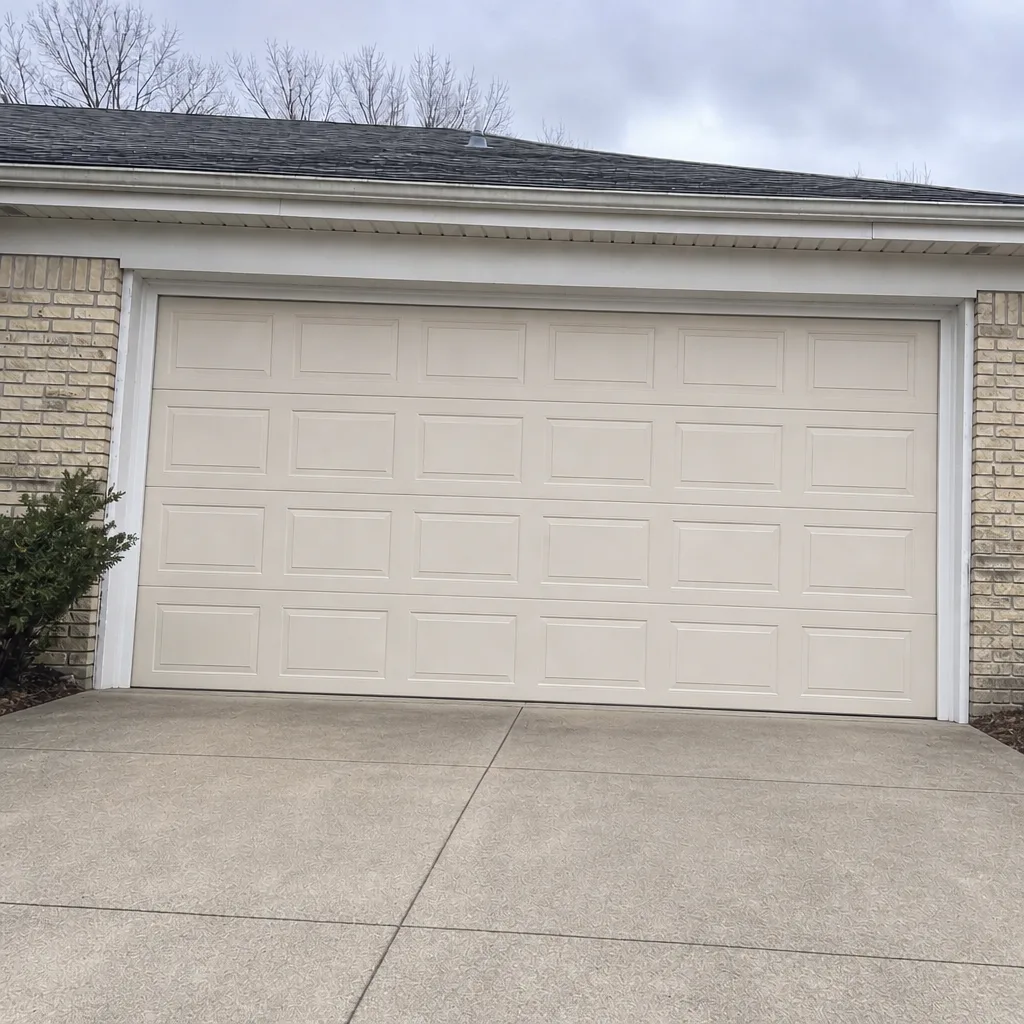 After
When to Call a Professional
Call a professional the moment you see any of the red-line indicators above, when the balance test fails, when a spring has visibly broken, or when the opener fails its safety reverse test. Also call if a monthly pass turns up something you don’t recognize, or if the door has started making a sound it didn’t make last winter. The point of the checklist is to keep small problems small. Sometimes the checklist tells you the small problem is no longer small, and the smart move is to stop and get a specialist in. Garage Door Repair Nora offers free estimates in Nora. Call (833) 468-3650.
If the door itself is beyond repair and you’re weighing your options, that’s a different conversation from a maintenance call, and it’s worth planning carefully. Our guide to garage door installation covers what the process involves, what to expect from a measure-and-quote visit, and what questions to ask before you sign anything.
Frequently Asked Questions
Lubricating the rollers, hinges, and spring coil with a silicone-based spray twice a year is the highest-value task, especially in the fall before the first freeze. It’s a small job that prevents the grinding, stalling, and cable failures we see pile up every January. If you do only one thing, do that, and do it before the cold sets in.
Once a year is the standard, ideally in the fall. A professional tune-up catches wear that a homeowner can’t see, including spring tension drift, early cable fraying, and opening force adjustments that need specialized tools. For most Nora doors, one annual service plus your own monthly and biannual passes is enough to keep the door dependable through the winter.
Yes, for the rollers, hinges, and the spring coil. Use a silicone-based spray and apply it twice a year. Don’t lubricate the tracks or the opener rail. Don’t try to lubricate the torsion bar or the bottom brackets, and don’t try to turn an adjustment screw on a spring. Those are technician-only tasks.
A broken torsion spring shows as a visible gap in the coil, usually about the length of your hand, with a pile of fine rust-colored dust on the door below the spring. A broken extension spring shows as a two-piece spring hanging loose on its safety cable. Either one means the door is being held by the cables and opener alone. Stop using the door and call for service immediately.
Cold makes under-lubricated metal bind and stiffens grease that isn’t silicone-based. Hardware also loosens a little at a time with the thermal expansion of a Nora winter. Fall lubrication and a hardware tightening pass handle most of it. If the noise persists after you’ve done both, that’s the door telling you a part is wearing, and it’s worth having a technician look at it before it fails.
Date every monthly and biannual pass, note what you lubricated, and photograph any change you see: rust on a bottom bracket, a frayed cable, a cracked seal. Note every professional service call and what was repaired. Then hand the log to the technician on your next service visit. It lets them see a trend instead of just a symptom, which usually means a smaller, cheaper fix. Call (833) 468-3650 for a free estimate in Nora.
The Bottom Line
A garage door in Nora survives the year on three tiers of maintenance: a ten-minute monthly visual, a twice-a-year lubrication and hardware pass timed to the first freeze and the spring thaw, and one professional tune-up annually. The chores that matter most are the silicone spray, the screwdriver pass on hinges, and the reverse and sensor tests. The red-line items – broken springs, frayed cables, a failing balance test – should never be touched by a homeowner. Stop the door and call. Our technicians have up to 12 years of experience and work on the exact brand in your garage, whether it’s LiftMaster, Chamberlain, Genie, Clopay, Amarr, Wayne Dalton, Craftsman, or Raynor. That matters more in Nora than most places, because the freeze here doesn’t leave much room for deferred maintenance.
If the checklist turns up something you’d rather not sit on, our team at Garage Door Repair Nora can take a look. Call (833) 468-3650 for a free estimate.
Written by the team at Garage Door Repair Nora.